
Arrowroot farming is one of the most rewarding agribusiness ventures, especially for farmers looking for a crop that is resilient, high-yielding, and in steady demand. Whether you grow arrow roots for household consumption or for commercial purposes, one thing is certain: the size and preparation of the planting hole dramatically influence your final yield.
In this detailed guide, we’ll explore the science behind the best planting hole size, proper planting methods, soil preparation, spacing, and moisture management. I’ll also share my personal experience—one that completely changed how I grow arrowroots and helped me boost my yield significantly.
By the end of this post, you’ll understand not just what to do, but why these techniques work and how to implement them for excellent harvests.
Why Arrowroot Farming Is a Smart Agribusiness Choice
Arrowroots (commonly known as nduma in Kenya) have grown steadily in demand thanks to their nutritional benefits, long shelf life, and increasing popularity among health-conscious consumers. For farmers, they offer several advantages:
- High market demand and good prices
- Suitable for both wetland and upland farming
- Low pest and disease pressure
- Ability to thrive in organic, manure-rich soils
- A harvest window of 7–12 months depending on variety and soil conditions
But even with these advantages, yield varies greatly depending on how you prepare the soil and plant the suckers.
This brings us to one of the most misunderstood aspects of arrowroot farming: the planting hole size.
The Truth About Planting Hole Size
Many farmers believe that digging deeper holes leads to larger arrowroots. At first, this idea seems logical—more space must mean bigger roots, right?
Well, not quite.
The Science Behind It
Arrowroots form their edible corms closer to the soil surface. While they need a sufficiently loose and fertile environment to grow, digging excessively deep holes encourages the plant to grow long roots rather than thick, heavy corms.
This leads to the common problem many new arrowroot farmers face: long, thin, cassava-shaped arrowroots instead of the desired fat, heavy corms.
So What Is the Ideal Hole Size?
After years of trials, agronomists, researchers, and successful arrowroot farmers recommend:
✔ Optimal Hole Size:
60 cm (width) × 60 cm (length) × 20–30 cm (depth)
This range allows:
- Proper root expansion
- Adequate manure and soil mixing
- Excellent moisture retention
- Reduced risk of malformed, elongated corms
If you go deeper than 30 cm, the roots elongate instead of bulking up.
My Personal Arrowroot Journey: From Failure to Success
You know when it comes to arrow roots, most farmers think the deeper the hole during planting, the bigger the root. Unfortunately, that’s not the case—unless you’re talking about root length, not girth and overall weight.
At least that’s what I believed a couple of years back when I planted arrowroots for the first time.
I remember waking up before sunrise, grabbing my jembe and panga, and heading to the farm. I dug incredibly deep holes—some as deep as my entire arm. Those holes must have been well over 30 centimeters.
I planted the suckers, added farmyard manure, mulched carefully, and waited eagerly.
Seven months later, the harvest came. The arrowroots were mature, yes—but they looked like long, thin cassava. Not the thick nduma I had envisioned.
Since I was a beginner, I couldn’t pinpoint the problem. In my mind, I had done everything right.
Then one day, while visiting an experienced arrowroot farmer friend, I shared my disappointing harvest.
He looked at me and said something simple but powerful:
“Don’t dig deep holes. Make it about twenty centimeters. Later during weeding, pile soil around the stem and you will see for yourself.”
That was the secret.
Earlier this year, I applied his advice. I dug shallower, wider holes and later earthed up soil during weeding.
The results? Stunning.
After eight months, the arrowroots were big, plump, and uniform. Exactly what every farmer wants.
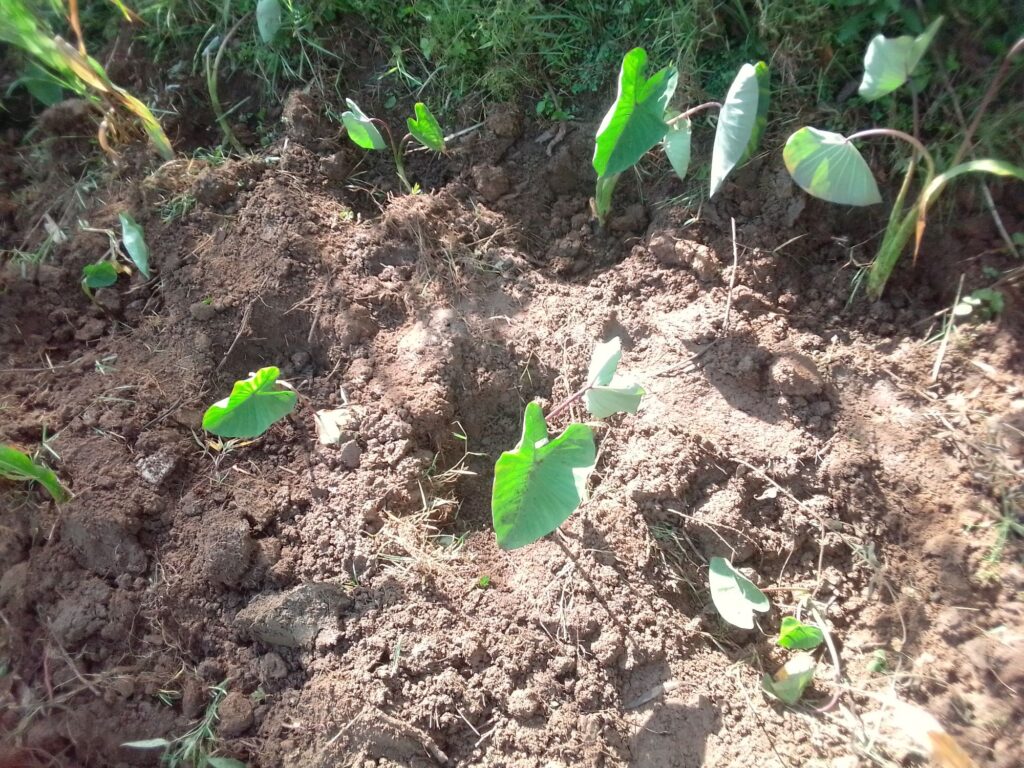
Yesterday, while transplanting new suckers, I used the same method. And I’m confident that by mid-2026, I’ll be celebrating yet another excellent harvest.
How to Prepare the Perfect Arrowroot Planting Hole
If you want consistently high yields, follow these practical steps:
1. Dig a shallow, wide hole
Use the recommended dimensions:
60 cm × 60 cm × 20–30 cm deep
The width is just as important as the depth.
2. Mix soil with organic matter
Arrowroots thrive in fertile, loose soils. Mix your topsoil with:
1–2 buckets of well-decomposed manure
A handful of wood ash (adds potassium)
Compost for better soil structure (avoid fresh manure since it can burn the roots).
3. Ensure the soil stays moist
Arrowroots prefer moisture-rich environments. If you don’t farm near a river, swamp, or wet area:
- Mulch heavily
- Irrigate regularly during long dry spells
- Plant at the start of the rains
4. Plant the sucker correctly
Place the sucker or corm in the hole and cover lightly. Do not compact the soil.
5. Earth up later
During weeding, pull soil around the stem. This encourages corms to expand upward and outward.
This step alone can boost your harvest significantly.
Spacing for Maximum Productivity
To avoid competition and ensure healthy growth:
Traditional varieties: 1 m × 1 m spacing
Improved varieties: 0.5 m × 0.5 m
Proper spacing improves airflow, light penetration, and nutrient distribution.
Additional Tips for High Arrowroot Yields
Here are expert-backed tips you should follow:
✔ Plant early in the rainy season
This ensures the crop establishes itself before long dry spells.
✔ Mulch generously
Mulching prevents moisture loss and suppresses weeds.
✔ Keep weeds under control
Weeds steal nutrients and reduce yield.
✔ Apply fertilizers wisely
Use phosphorus at planting for root development and nitrogen during vegetative growth.
✔ Rotate crops
Avoid planting arrowroots in the same spot season after season.
✔ Monitor moisture levels
Arrowroots don’t tolerate drought well.
Conclusion
Getting the best arrowroot harvest isn’t about digging the deepest hole—it’s about creating the right growing environment. The optimal hole size of 60 cm × 60 cm × 20–30 cm, combined with proper soil preparation, correct planting, spacing, moisture management, and timely earthing-up, can dramatically increase your yield.
My own experience is proof. Once I switched to the shallower, wider-hole method, my arrowroot harvest improved beyond expectations.
If you’re planning to plant arrowroots this season, start with the right hole—and you’ll be well on your way to a productive and profitable harvest.
Read more on topic: Arrowroot Farming: an option for farmers on swampy land

Disclosure: This banner contains an affiliate link. I may earn a commission if you purchase through it, at no extra cost to you.