
After building your fish pond, the next step before introducing fingerlings is proper pond preparation. Many new fish farmers rush to stock fish immediately, only to face high fingerling deaths, diseases, or poor growth. Preparing the pond correctly ensures healthy water, eliminates harmful organisms, and gives fingerlings the best environment to thrive.
If you haven’t yet built your pond, check out our earlier guide: Fish Pond Construction: Simple Steps.
In this article, we’ll cover the step-by-step pond preparation process including drying, repairs, liming, disinfection, fertilization, and filling with water.
1. Why Pond Preparation is Important
- Prevents introduction of fish diseases and parasites.
- Improves water quality and natural food availability.
- Enhances fingerling survival and growth.
- Saves farmers from early losses and wasted investments.
2. Drying the Pond
Drain out all water completely.
Leave the pond dry for 7–14 days until cracks appear in the soil.
Sunlight kills parasites, predatory fish, snails, and harmful microbes.
Tip: If the pond is large and cannot dry completely, use lime to disinfect damp areas.
3. Small Pond Repairs
Before restocking, carefully check the pond structure:
Dikes and walls: Patch cracks and erosion spots using clay soil.
Inlets and outlets: Fix leaks and cover them with fine wire mesh to prevent entry of wild fish.
Pond bottom: Remove weeds, roots, stumps, or debris that may injure fish or harbor predators.
4. Disinfection with Lime
Lime is a key material in fish farming as it kills harmful organisms and corrects soil acidity.
Types of lime used:
- Agricultural lime (CaCO₃): Mainly to neutralize acidity.
- Quicklime (CaO): Strong disinfectant, kills snails and pathogens.
- Slaked lime (Ca(OH)₂): Used for both pH correction and disinfection.
Recommended application rates:
Soil pH below 6.0 → 200–300 g/m²
Soil pH 6.0–7.5 → 100–200 g/m²
Soil pH above 7.5 → Liming may not be necessary
5. How to Apply Lime
Spread lime evenly over the dry pond bottom.
Mix into the top 5–10 cm of soil for best results.
For ponds that already have water, dissolve lime in a bucket of water and broadcast evenly across the pond surface.
Allow 1–2 weeks before filling the pond fully with water.
6. Fertilization (Optional but Recommended)
To encourage the growth of plankton (natural food for fingerlings), apply organic manure after liming.
Poultry droppings or cow dung are commonly used.
Rate: 200–500 g/m² depending on soil fertility.
Spread evenly and allow it to decompose for about a week.
This creates a light green water color, which indicates good plankton bloom.
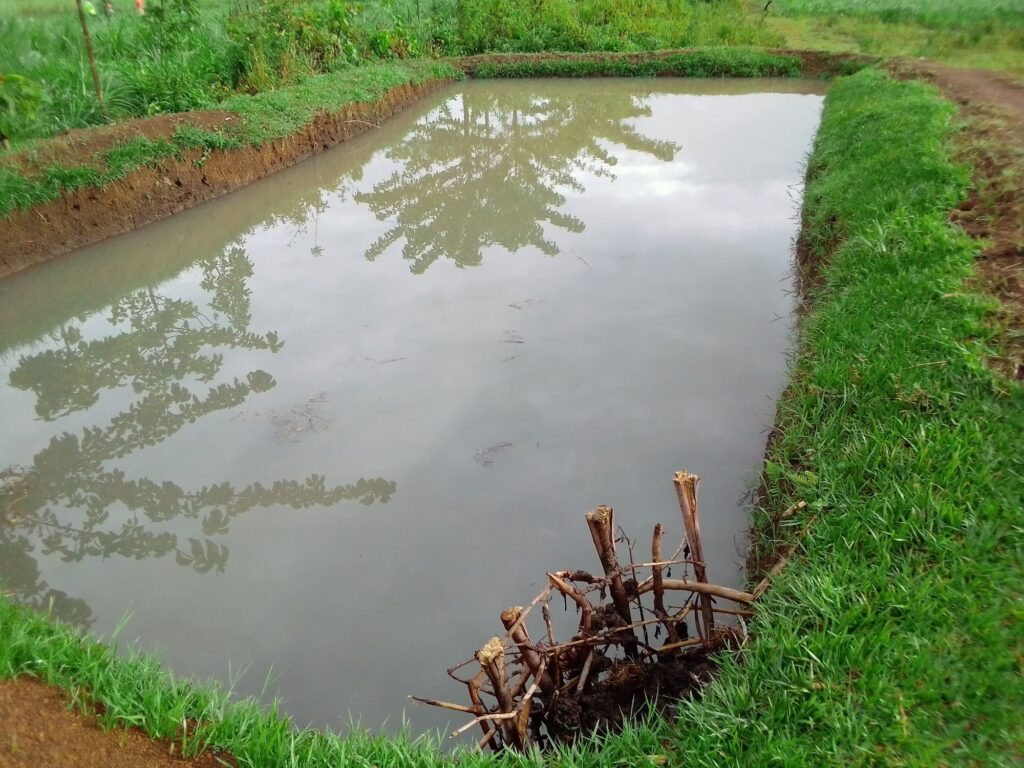
7. Filling the Pond with Water
Fill the pond slowly through a screened inlet to prevent unwanted fish from entering.
Allow the water to stand for 5–7 days before stocking.
Check that the water has a light green color, not muddy or too clear.
8. Final Checks Before Stocking
Before introducing fingerlings:
Ensure pH is between 6.5 and 8.5.
Confirm pond dikes and inlets are secure.
Keep away predators such as birds, frogs, or snakes.
Water should not have a foul smell or excessive turbidity.
Conclusion
Pond preparation is one of the most important steps in successful fish farming. By drying, repairing, liming, fertilizing, and filling the pond carefully, farmers create the best environment for fingerlings to grow healthy and fast.
Remember: a well-prepared pond means fewer losses, stronger fish, and better profits at harvest.
For more fish farming tips, also read: Fish Pond Construction: Simple Steps.

Disclosure: This banner contains an affiliate link. I may earn a commission if you purchase through it, at no extra cost to you.
Timing is wrong.March is the right time.
You are talking about the right time to stock the pond?
Pingback: The Next Step in Fish Farming: Stocking, Mortality Control, and Feed Management - Money in Agribusiness
Pingback: Post-Stocking Pond Management: Water Quality, Health, and Fish Growth - Money in Agribusiness