In recent years sweet potatoes have grown in popularity due its low farming cost and its many benefits. Days are gone when a city trader came to your farm and you gave him your whole produce for a few shillings. Today there’s a growing potato market as more and more people are shunning unhealthy fast foods for the traditional ones such as sweet potatoes, arrowroots, sorghum, millet, you name it because of their health benefits. And we now have people just dedicated to value addition on this crop alone, which is creating alternative food items and also contribute positively in reducing unemployment in the country. All this at the end of the day have created a demand for sweet potatoes making some of us to venture into farming of the crop.
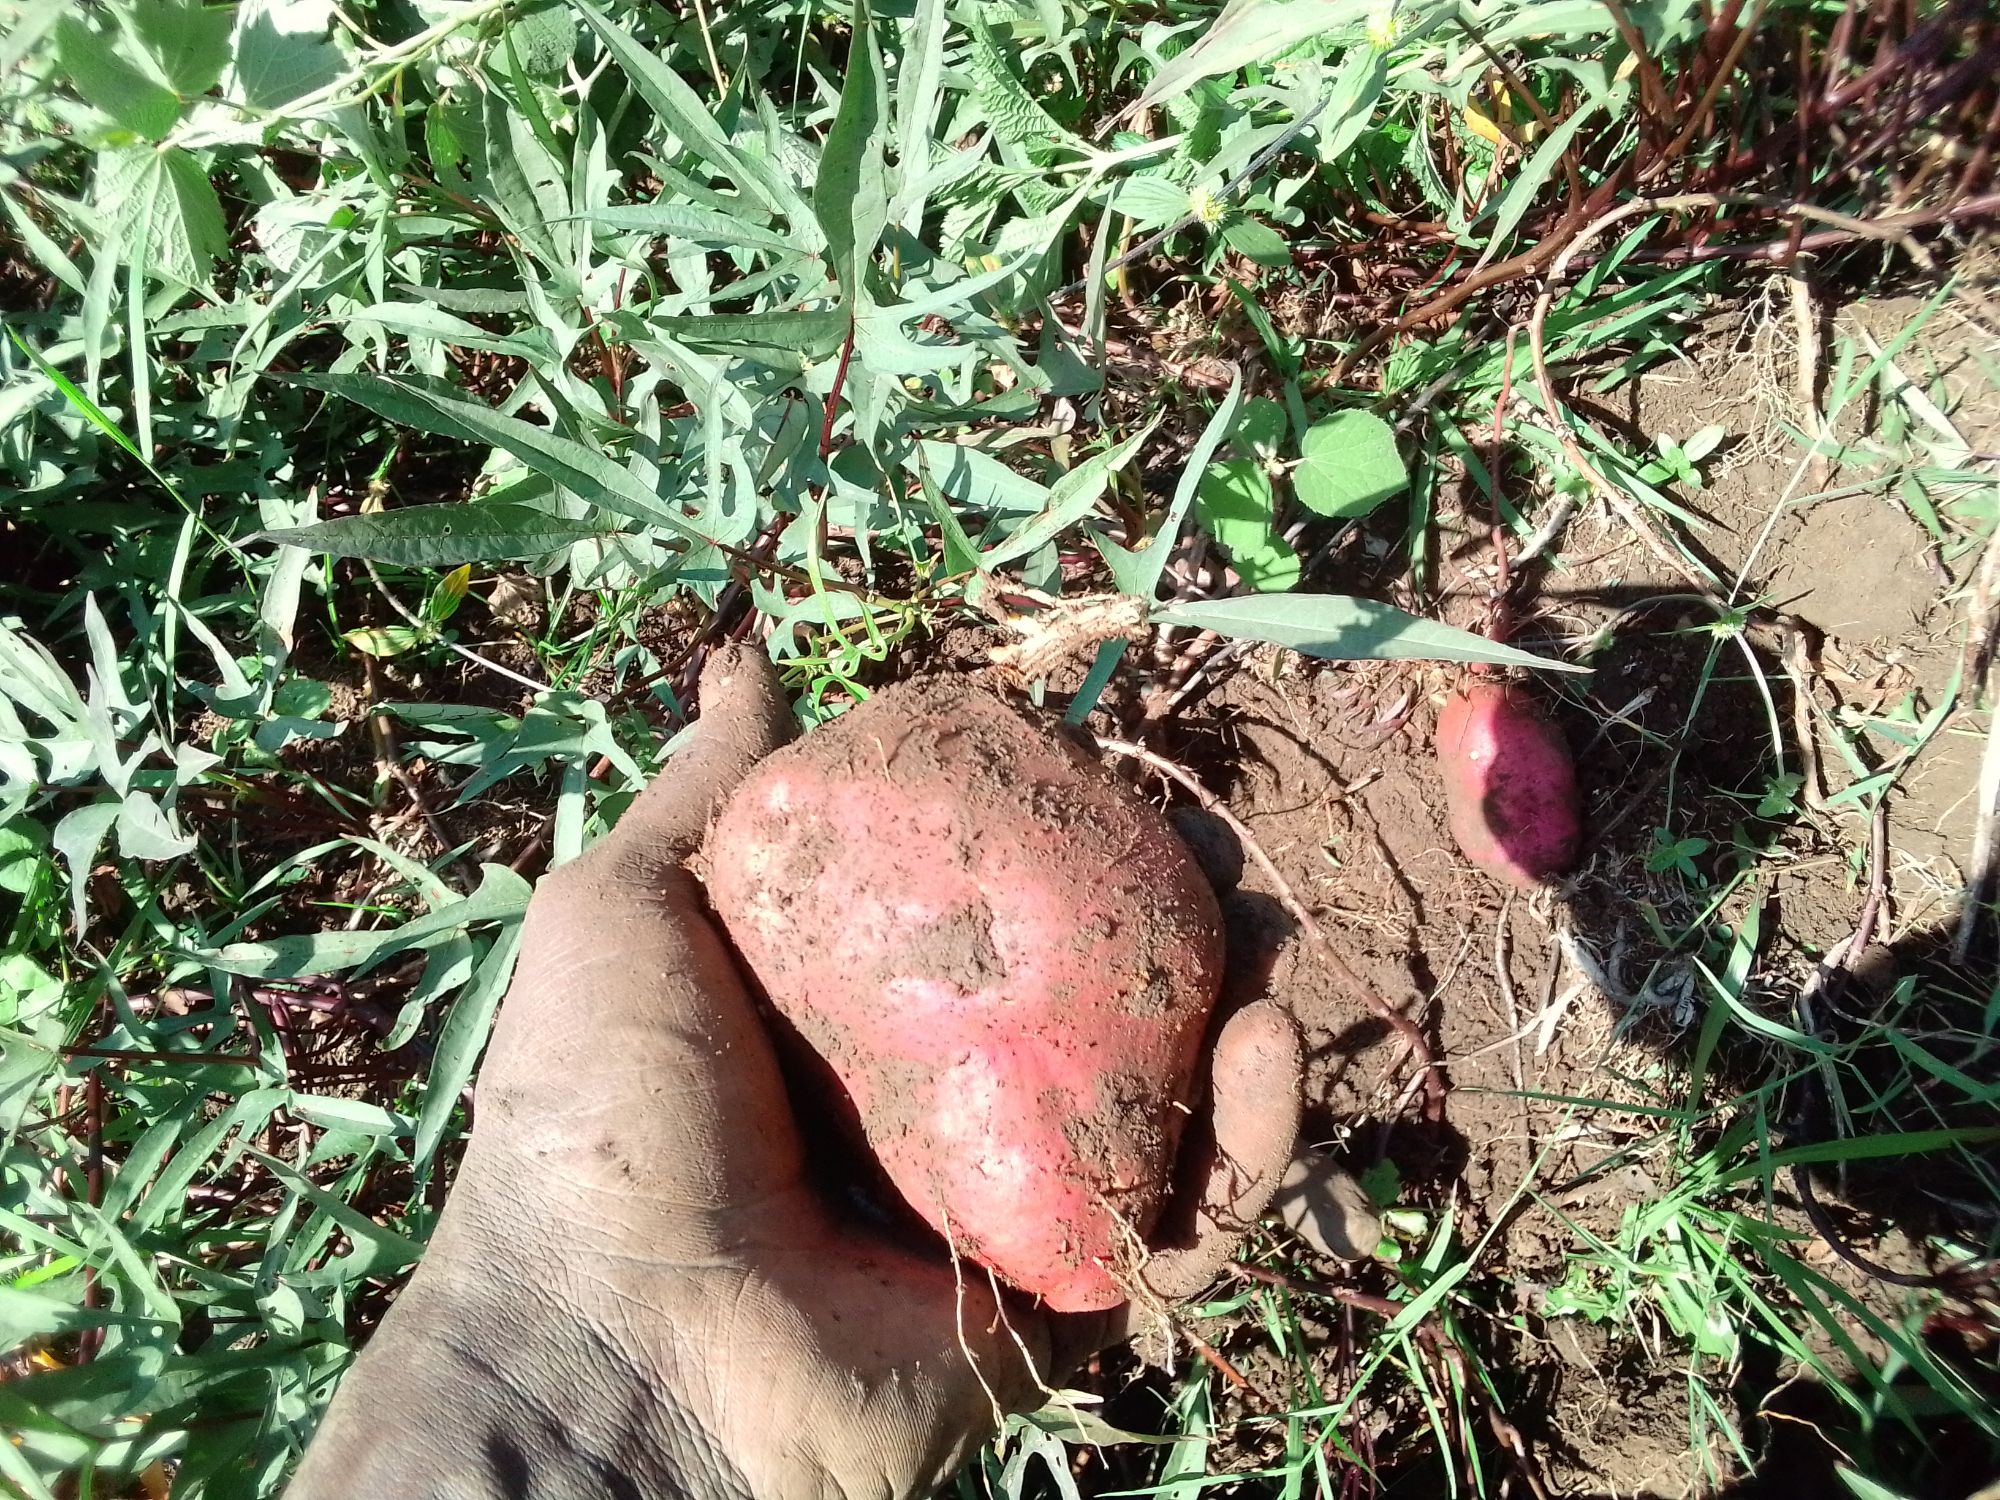
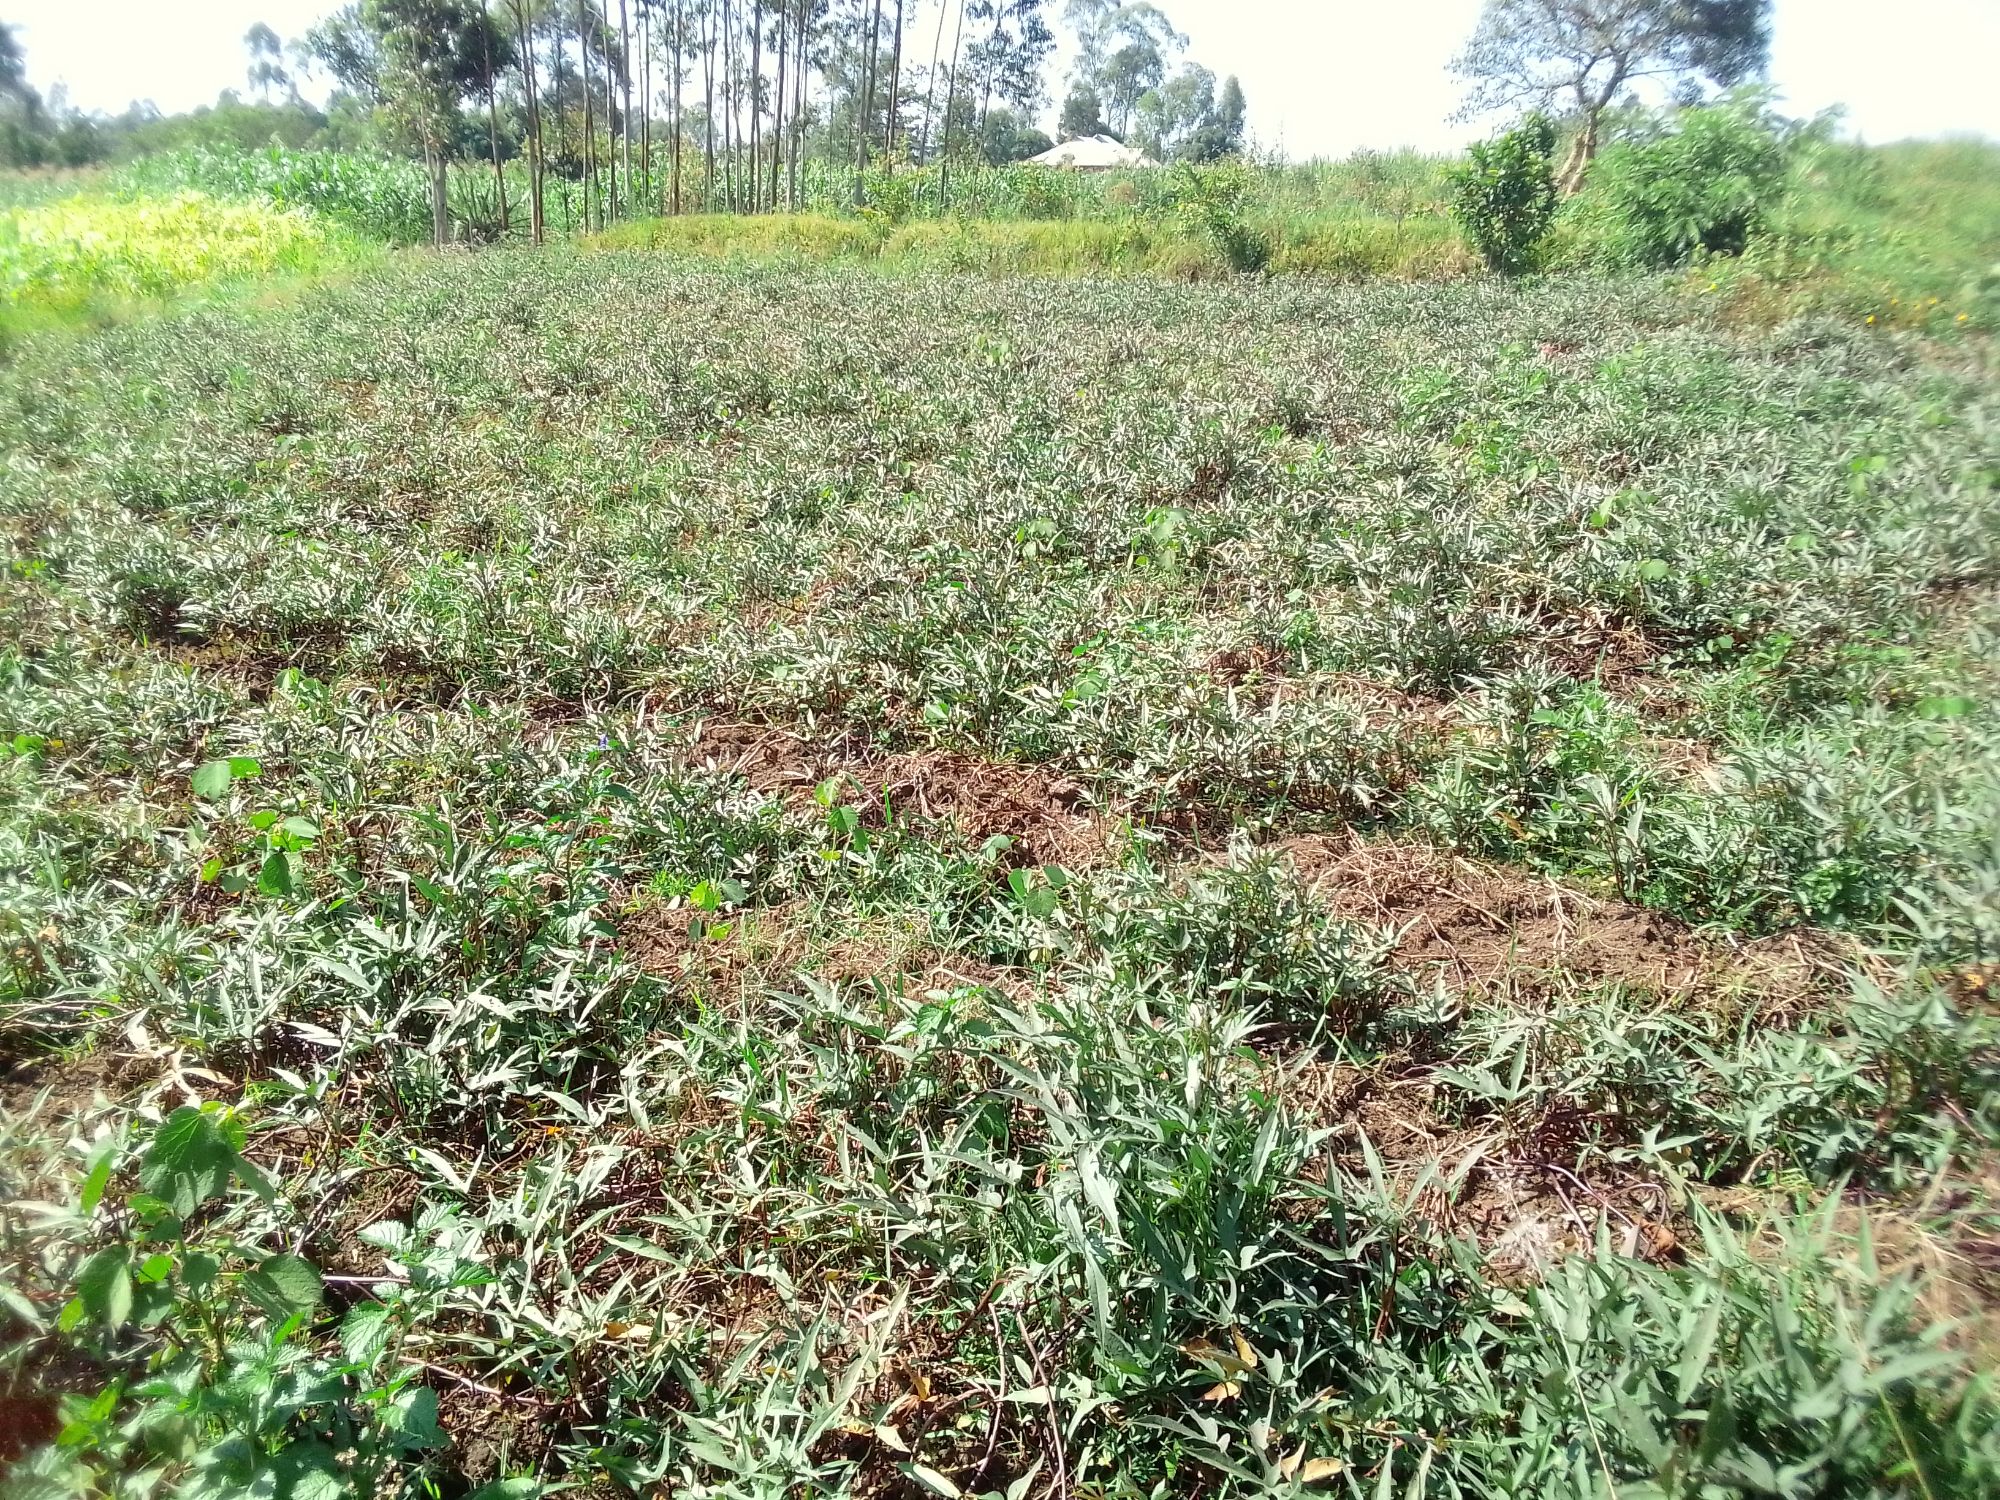
Since more and more farmers are venturing into farming of sweet potatoes and there’s very scanty information regarding this and other root crops in the outgoing 8-4-4 school curriculum, we need to guide those who are clueless on the best farming practices that will give them the most out of their crop and their efforts. Mid November I planted my own potatoes, Kabode improved variety, using vines from the other farm that’s now mature and ready to be harvested. Today I’m here to highlight on some of the practices I followed during the planting of the crop with the hope it might benefit some other farmer or merely motivate them about potato farming.

But before I lead you into planting of potatoes from the seed preparation, I’ll first tell you some potato varieties grown in Kenya, both local (traditional) and improved (developed by research institutions such as the Kenya Agricultural and Livestock Research Organization — KALRO, and CIP — International Potato Center). Here’s a breakdown of notable sweet potato varieties in Kenya, grouped by type:
1. Improved Sweet Potato Varieties
These varieties are bred for high yield, disease resistance, drought tolerance, and better nutritional value.
i. Kabode
Color: Orange-fleshed.
Maturity: 4–5 months.
Yield: 10–20 tons/ha.
Features: High in beta-carotene (vitamin A), good for baking and boiling.
Disease Resistance: Tolerant to sweet potato virus disease (SPVD)

ii. Vitaa
Color: Deep orange-fleshed.
Maturity: 4–5 months.
Features: Rich in Vitamin A, promoted for child nutrition.
Uses: Boiling, processing into flour.
iii. Kenspot Series (Kenspot 1–5)
Color: Mostly cream to orange-fleshed.
Maturity: 3.5–5 months depending on variety.
Features: High-yielding, tolerant to SPVD and weevils, and good storage root quality.
Use: Diverse — food, animal feed, and industrial uses.
iv. Ejumula
Color: Orange-fleshed.
Maturity: 4–5 months.
Features: High beta-carotene, good for regions with poor soils.
v. KC-SWEET Purple
Flesh Color: Deep purple
Yield Potential: Up to 25 tons per hectare
Maturity Period: 120–150 days
Key Traits: Rich in anthocyanins, resistant to pests like sweet potato weevils, and tolerant to Sweet Potato Virus Disease (SPVD). Maintains its dark purple color when boiled, appealing for both consumption and as a natural food colorant.
2. Local (Traditional) Varieties
Traditional varieties are still widely grown due to taste preference and adaptability.
i. Nyathi Odiewo
Color: White to cream flesh.
Texture: Dry and sweet.
Maturity: 5–6 months.
Uses: Popular for home use and local markets.
ii. Mugande
Color: Cream to pale yellow flesh.
Taste: Very sweet.
Features: Preferred in western Kenya, good for roasting and boiling
iii. KSP20
Color: Cream flesh.
Maturity: Around 4–5 months.
Features: Good storage root size and resistance to weevils.
Now that you’ve learned some of the available varieties, both local and improved in Kenya, select the one you see fit for your purpose and one that would flourish in your region. Next we will dive into planting.
Planting of sweet potatoes
1. Land preparation
Carry out both primary and secondary cultivations depending on the state of your farm. This will ensure you have a well-tilled land free of weeds and with all the hard clods broken into loose soil.
2. Raise beds
In potato farming we have two known planting methods commonly used: bed/ridge planting and the traditional one, planting on mounts. The bed one is much modern and preferred in commercial farming as it gives more yield and doesn’t waste land as compared to the other one, plus where mechanization is used, it’s preferred for its efficiency. It also ensures easier harvesting among other advantages.

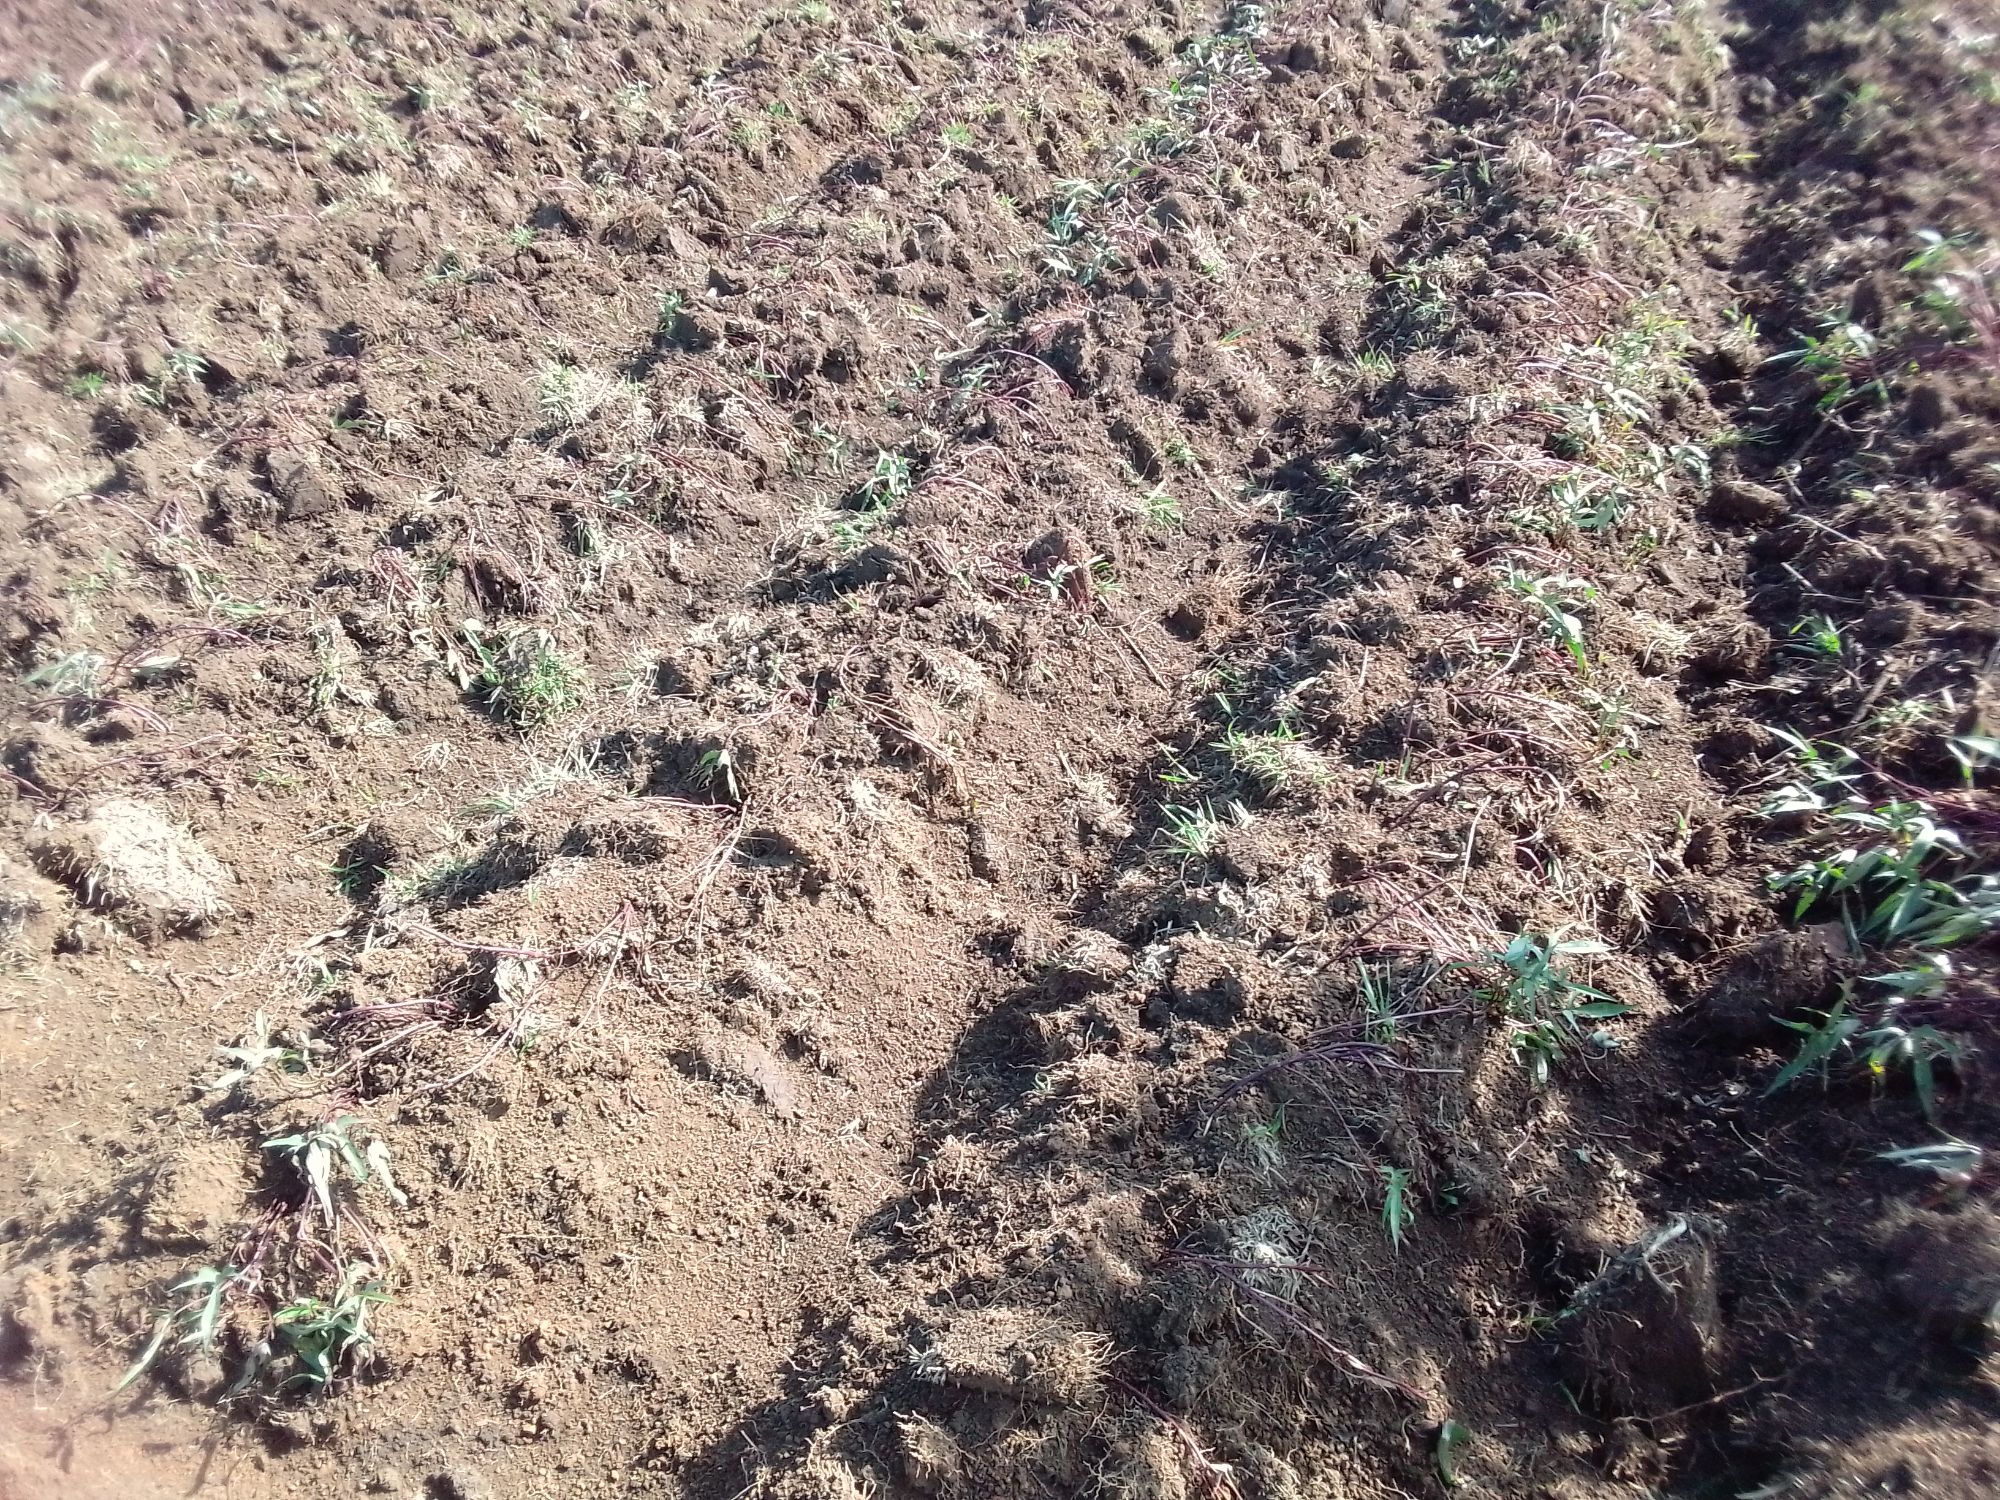
Raise your beds 1-2 ft high depending on your soils, for instance in water logged soils you will have to make your beds a little higher. For width, a minimum of 40cm is the requirement. You can make the bed even a meter wide. Raise the bed by digging the soil on the sides and then pilling it up. Leave about 30cm space between the beds that will facilitate easier movement during scouting, weeding and room for the vines to spread out. Two weeks to harvesting when you have a customer for the vines or for your next farm, these are the vines you cut off to avoid damaging the potatoes.
3. Preparing the vines
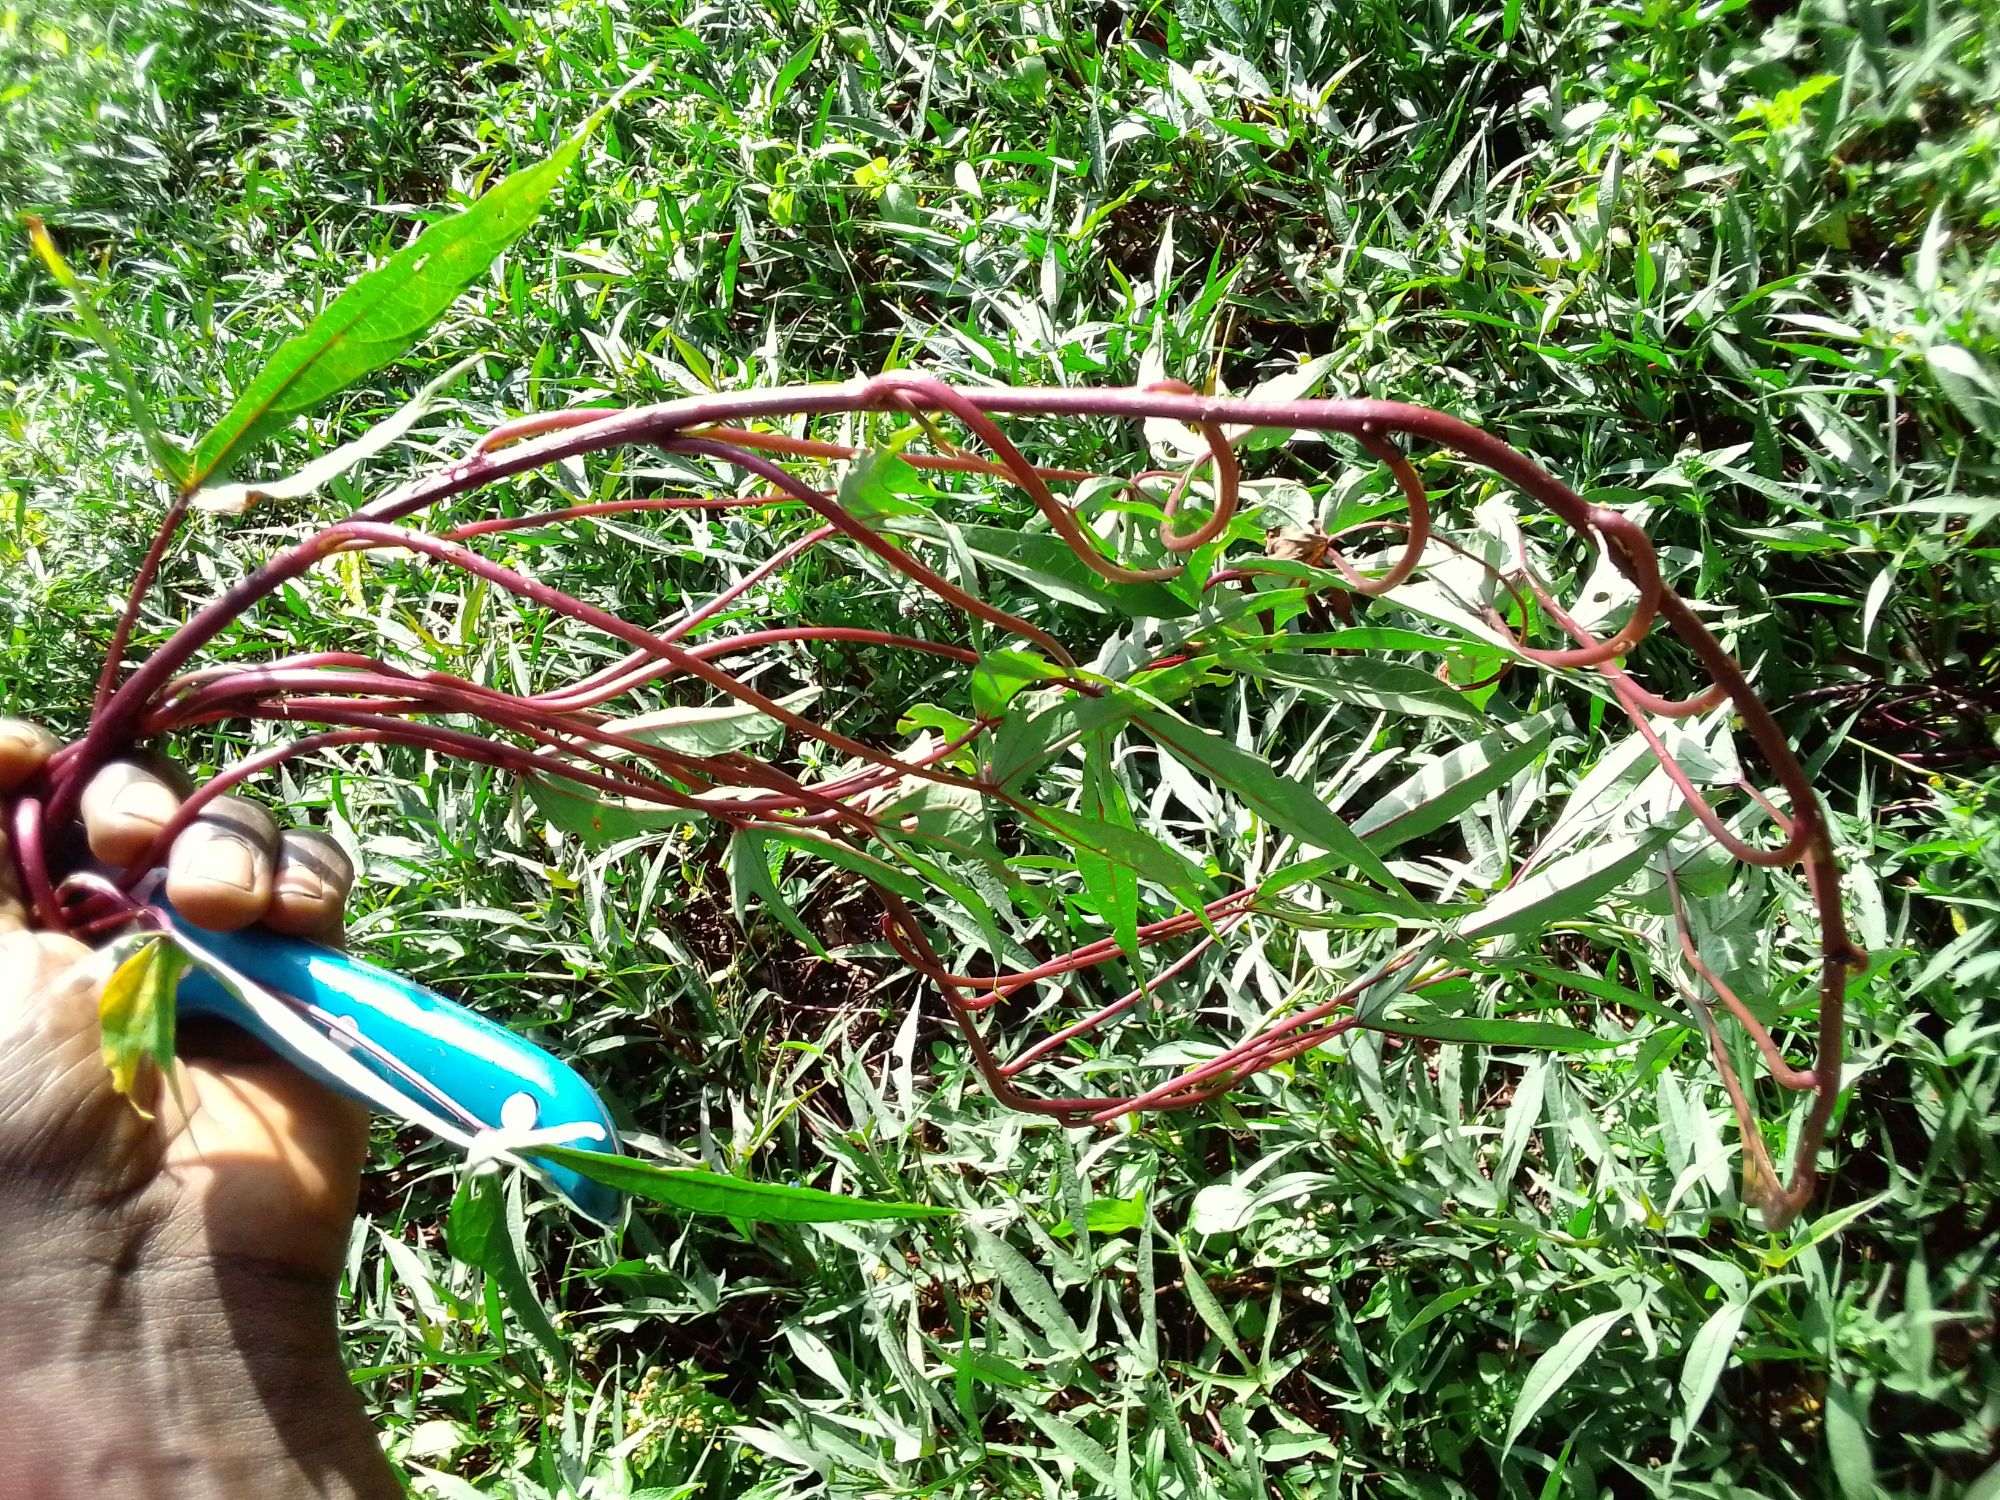
Here is where you’re getting the vines ready for the planting now that the beds are ready for receiving them. Select only viable vines, strong and healthy. Leave out the shriveled and the rotting vines. Cut the vines to any length of not less than 20cm. Arrange the cuttings in such a way that the bottom part is facing only in one direction to avoid mix-up during planting and also save on time by preventing further sorting out when planting is in progress.

4. Planting
Plant when the soils have adequate moisture to prevent the vines drying. A day after it has rained is even better. To now the actual planting of the vines, insert one or two vines to a depth of about 10-15cm and about 25cm apart.
Around two weeks after planting, pull up the loose soil from the trench and back to the bed to cover the vines and fragile young shoots sprouting, at the same time weed out any visible weeds to keep your farm clean
Well, I hope this post was helpful and if you have any questions or any other feedback, leave it in the comment section or on my handles.

Disclosure: This banner contains an affiliate link. I may earn a commission if you purchase through it, at no extra cost to you.
